Someone was wondering how to make pixelled badges, and as I can't explain properly with words, thought a tutorial with images might be easier. Hopefully it's helpful and not too confusing, but as it's my first, please feel free to ask questions or suggest improvements.
----
You'll need Paint.NET for this tutorial. It's free and brilliant for spriting, so if you don't already have it, I recommend it thoroughly. I'm sure these techniques can be applied in other programs, though.
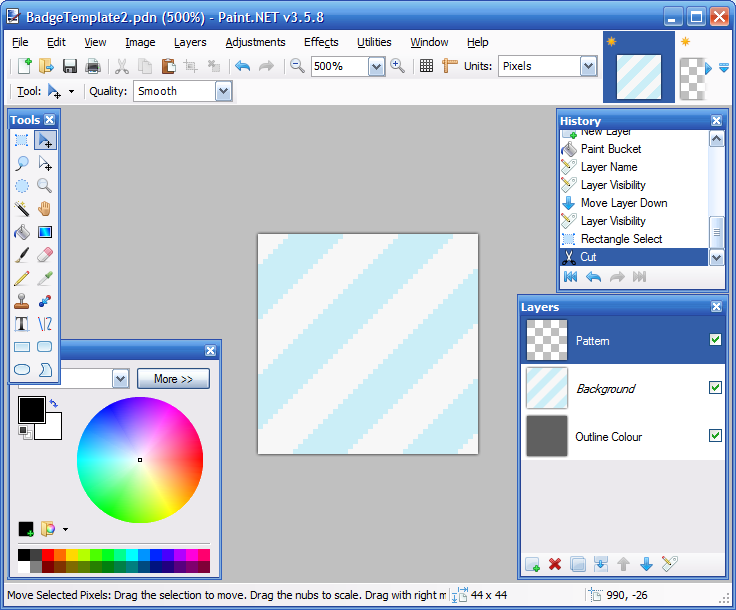
So, for starters, you'll want to open the Base.pdn file attached to this post. You'll want to work on the empty
Pattern layer.
 Awesome.
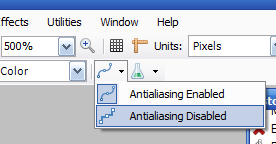
Now, you need to draw the basic shape of your badge. This needs to be pixellated, so either use the pencil, or the brush tool, but make sure that antialiasing is disabled, like so:
Then, draw your shape. It can go anywhere on the square, but make sure to leave
at least four pixels on each edge. You'll see why this is important later.
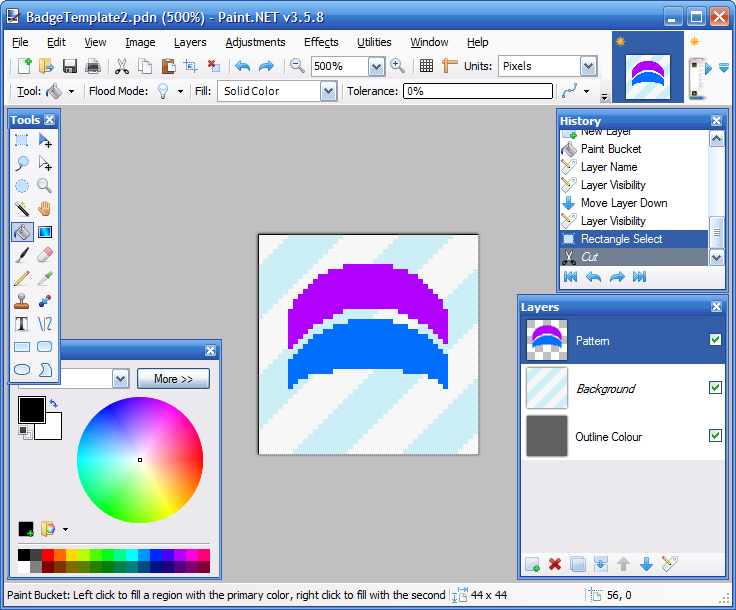 Done.
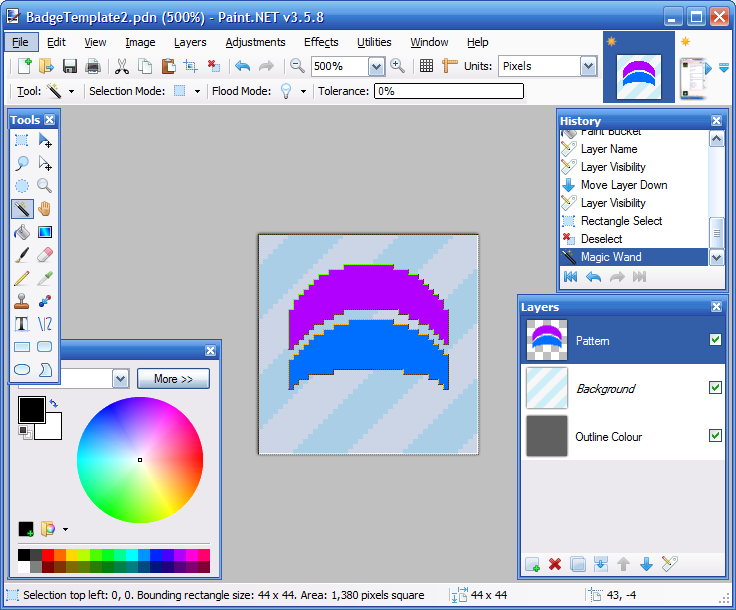
Done.Now, take the magic wand tool (it's selected in the previous image) and select the transparent area around your design. It should look something like this:
Then, follow the menus in the next image to find
Outline Object.
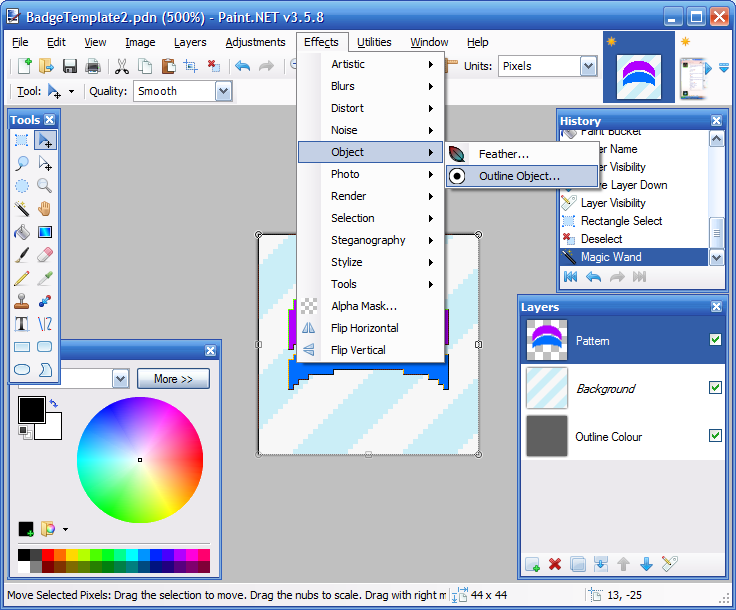
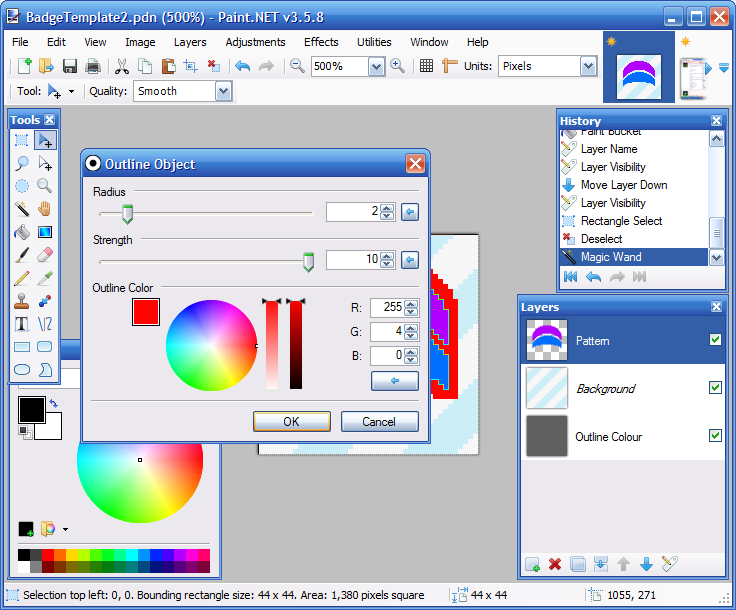
Pick any colour you like (red is bright and I haven't already used it, so it seems a good choice) and make sure that the
Radius is set to 2 and the
Strength is set to 10. Then, hit OK.
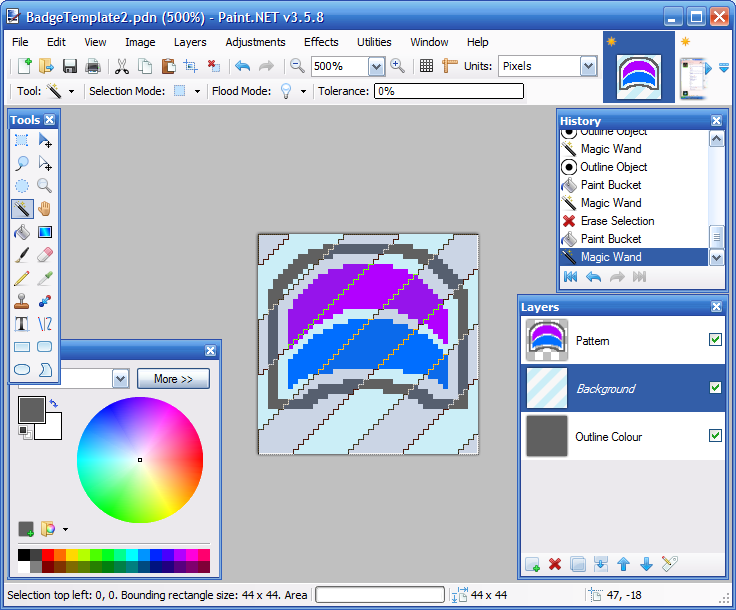
That done, select the transparent area again using the magic wand:
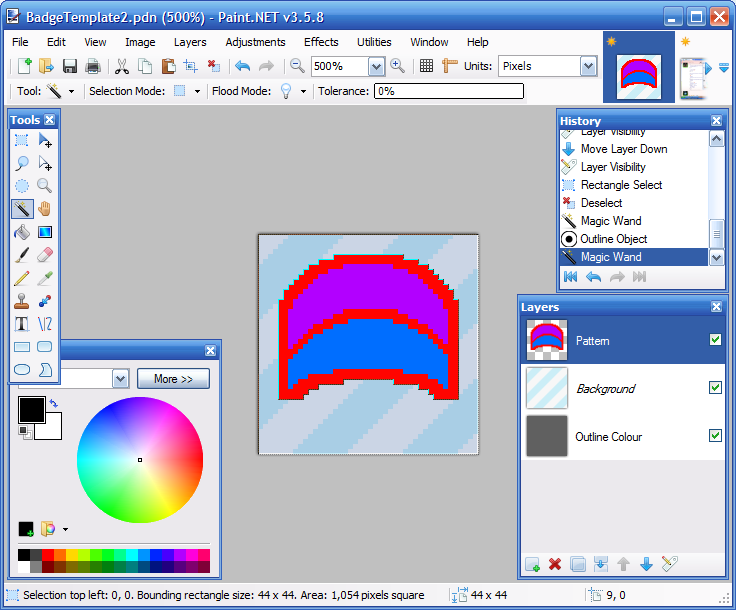
Repeat the process of
Outline Object, but this time use the default black, or at least a different colour from before. Then, select the red using the magic wand.
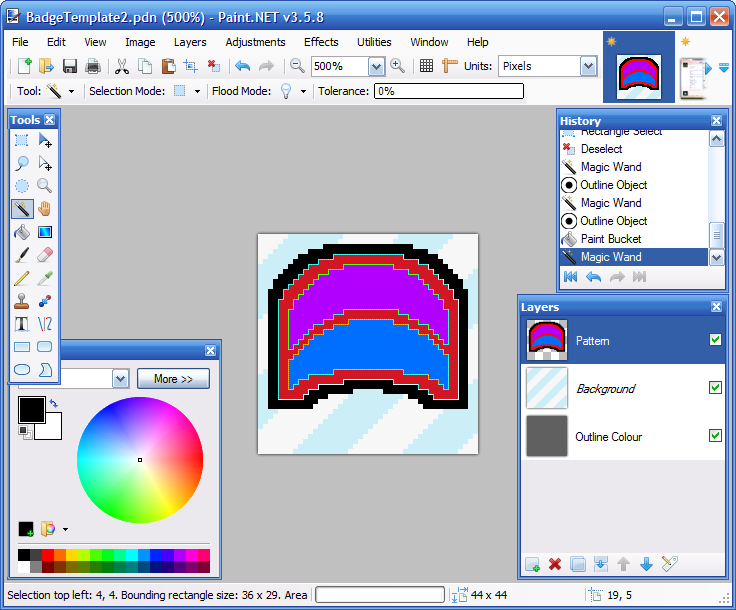
If you find that it selects part of your design as well, make sure to move the
Tolerance slider down to zero so that only one colour is selected. Then, just hit the
Delete key to remove it.
You might notice that I've changed the black to the correct outline colour. To do that, select the bottom layer using the
Layers window, and use the dropper to select the colour. Then, go back to the top layer, and use the fill tool.
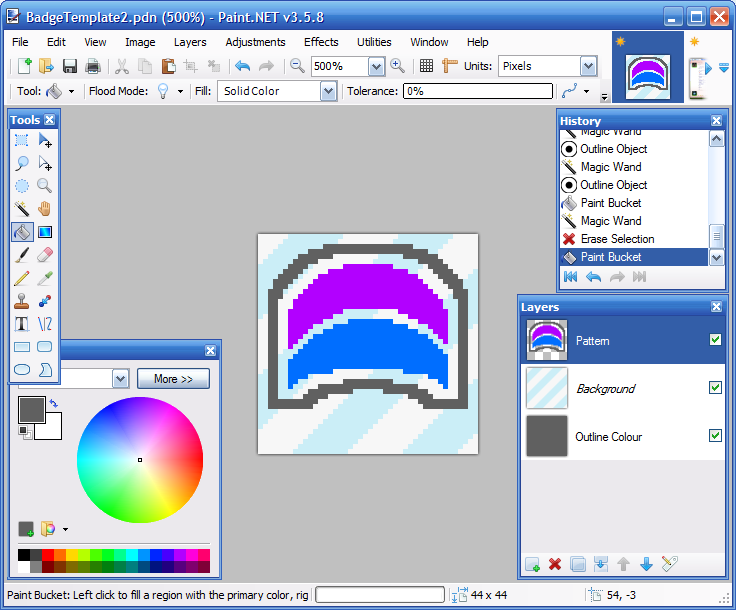
Now it's time to shade our badge. To do this, go to the middle layer,
Background, and choose the magic wand tool. Then,
while holding Shift, click on one of the white diagonals. This should select all of them. Then, go back to the top layer.
Now, switch to the dropper tool, and choose one of your colours. Then, hit
More on the
Colours dialog and mess with the
Lightness and
Saturation sliders until you find a suitable colour. Then switch to the fill bucket again (you should still have the bands selected from before), and holding
Shift, click on an area of the original colour. Repeat this for each colour, and it should turn it into something like this:
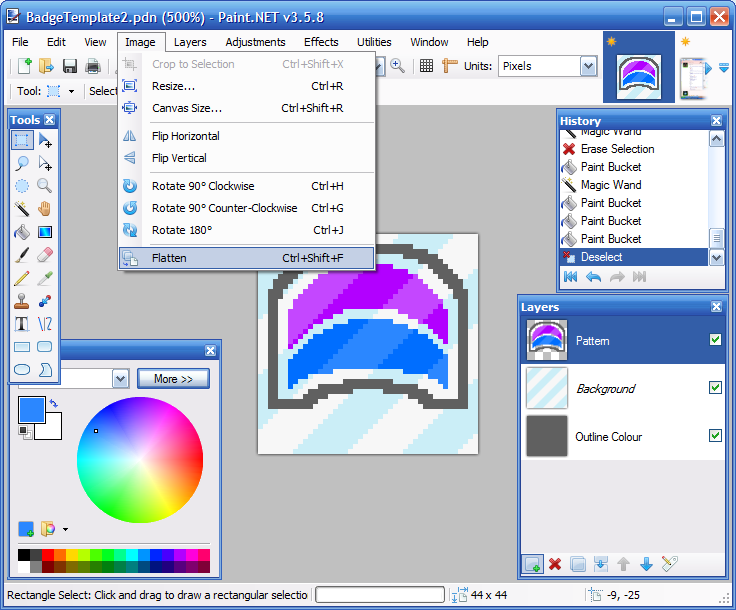
Flatten the image, as shown, and then, using the magic wand, with the tolerance slid up to around 30, select the outer blue and white area. Hit delete, and you should be left with this:
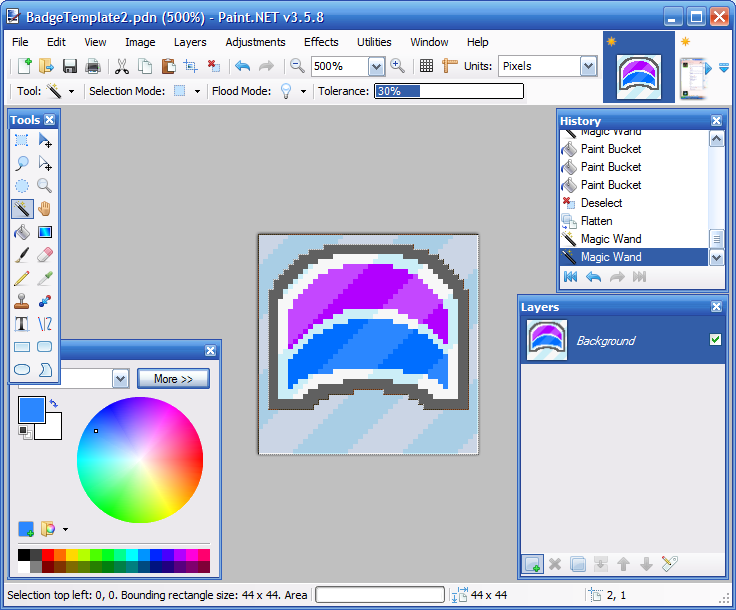
Now hit save and your PNG should look something like this:

Tutorial: Credit: NikNaks
Link: http://www.pokecommunity.com/showthread.php?t=252791


